Kawaii Halloween · Luminous greens · A wine-red hat
Halloween dinosaur with a witch hat coloring page
This dinosaur wears an enormous witch hat and a smile that is sweeter than it is scary. Download the free Halloween drawing and see how I colored it by hand with greens, warm shades and a wine-red hat.
- Free download
- Hand-colored example
- Colored pencil ideas
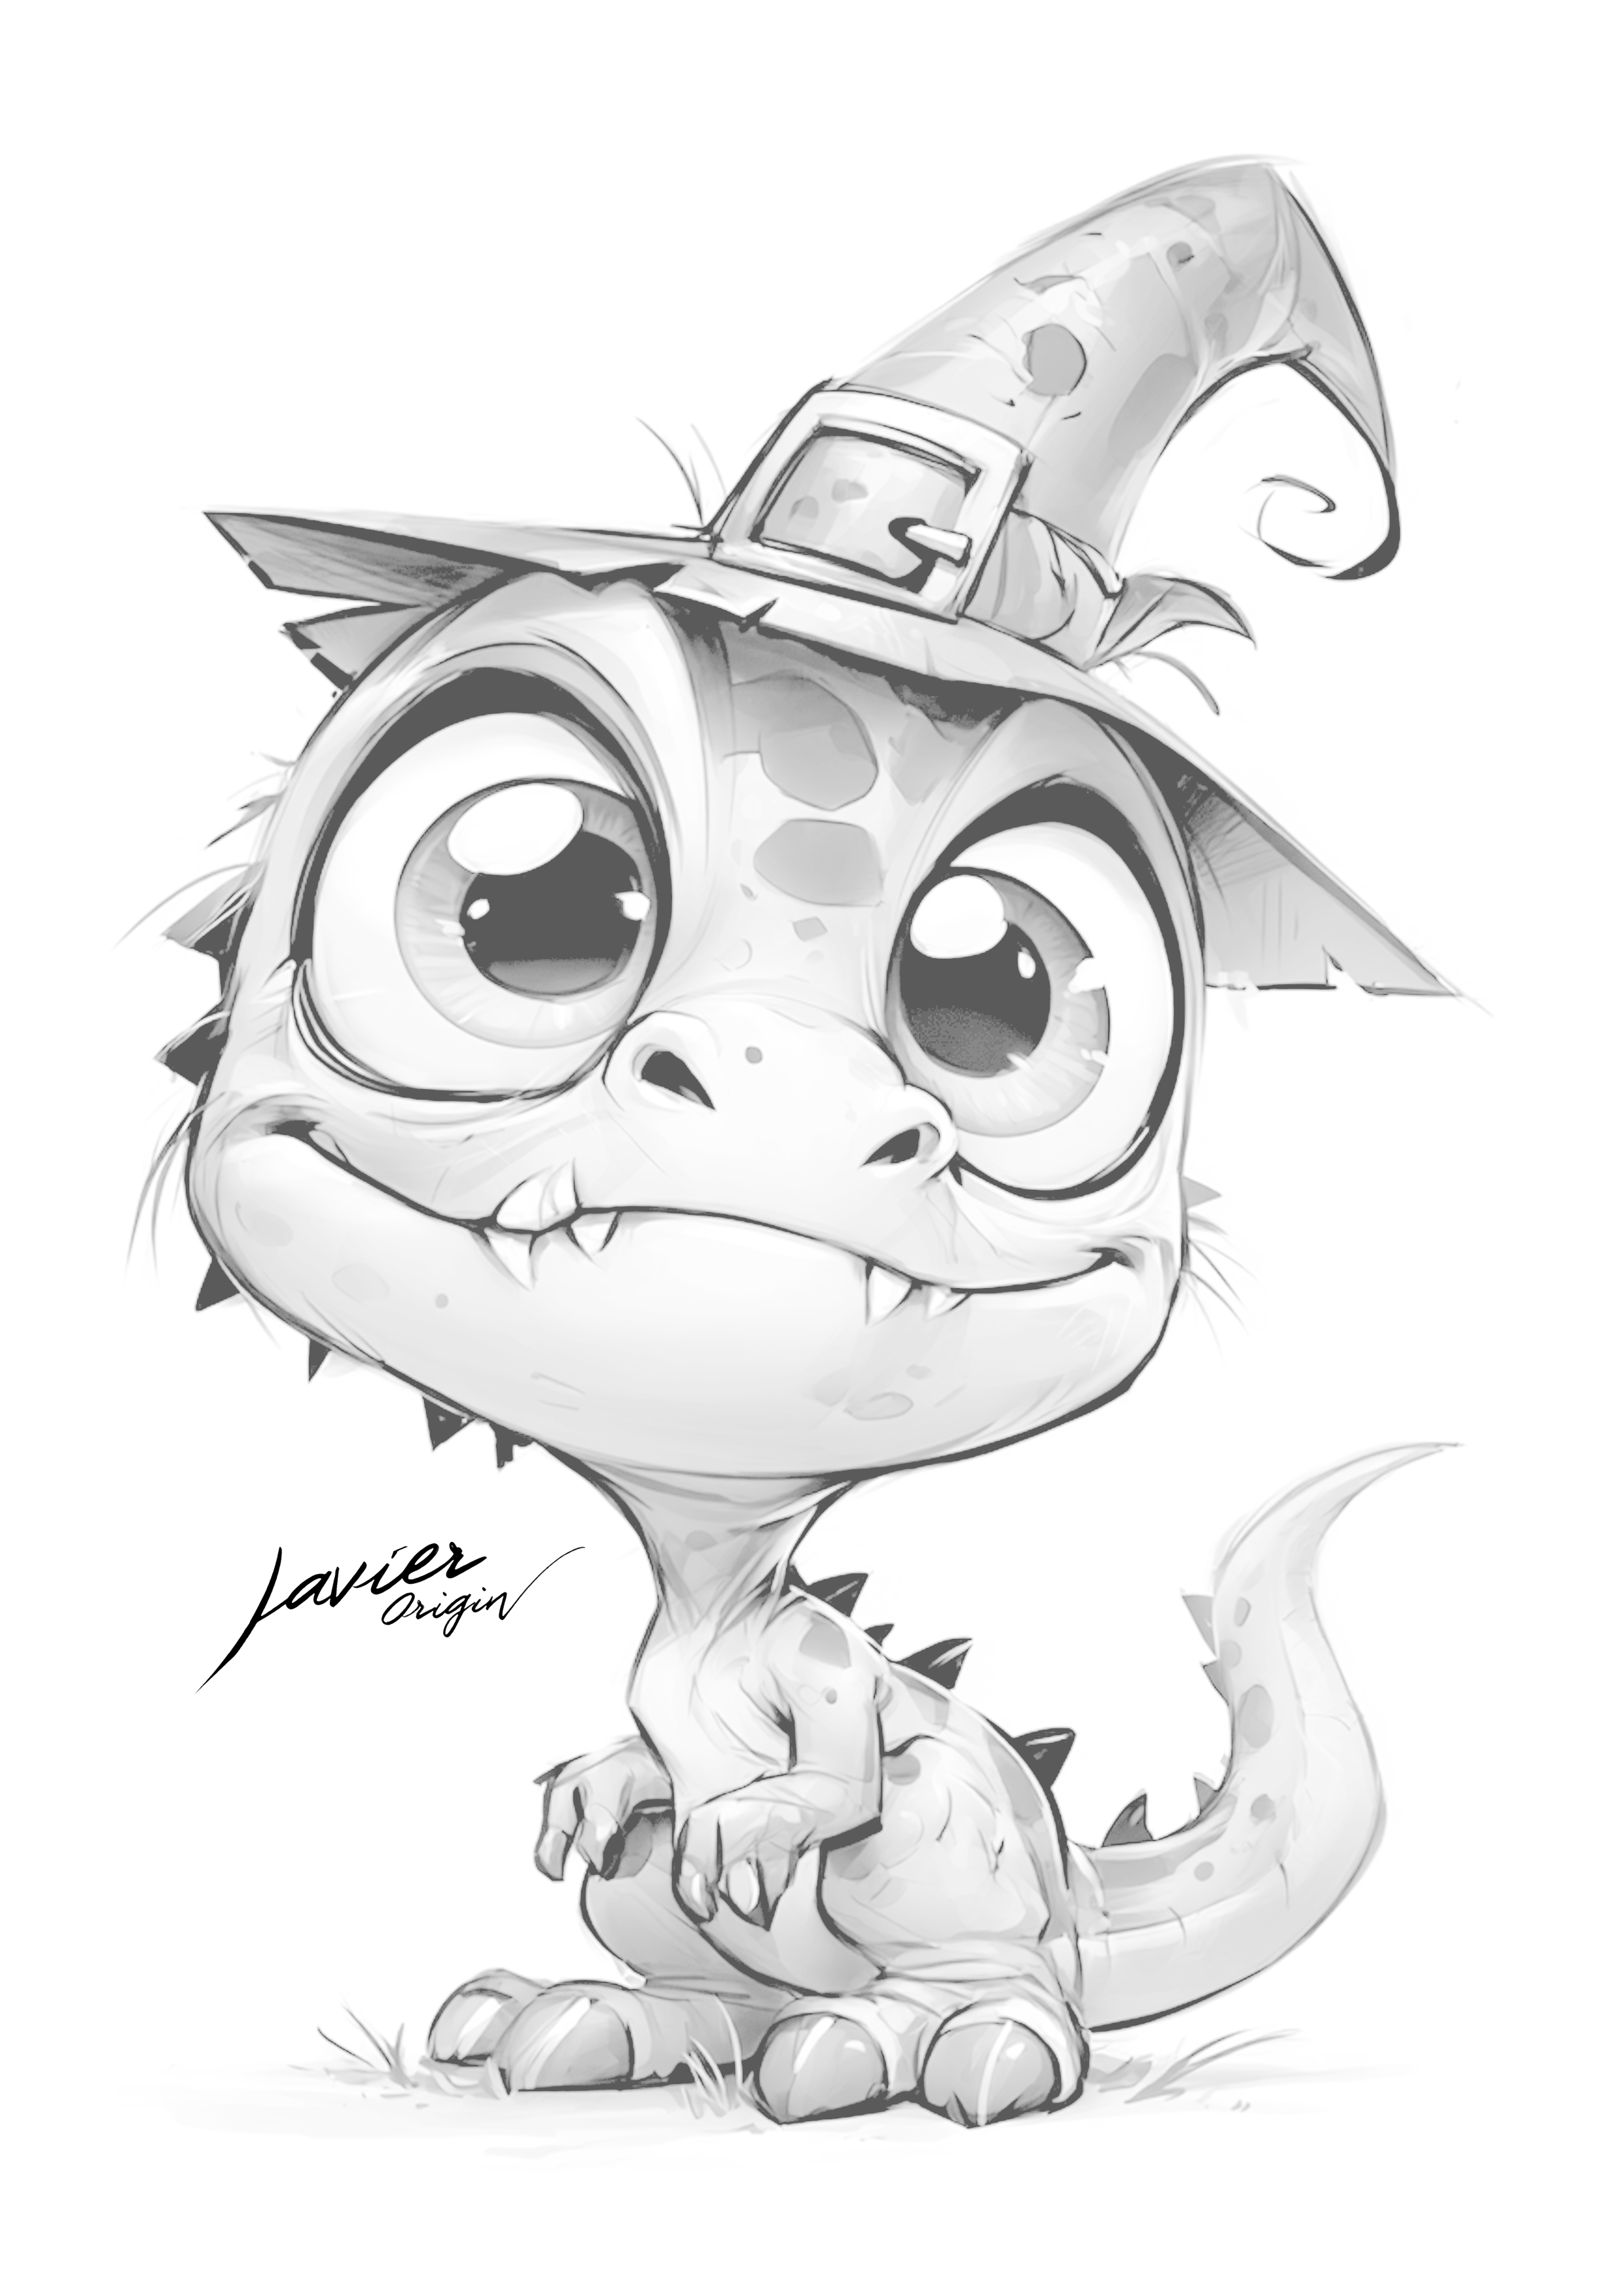
The download is the black-and-white drawing. You decide how to color it.
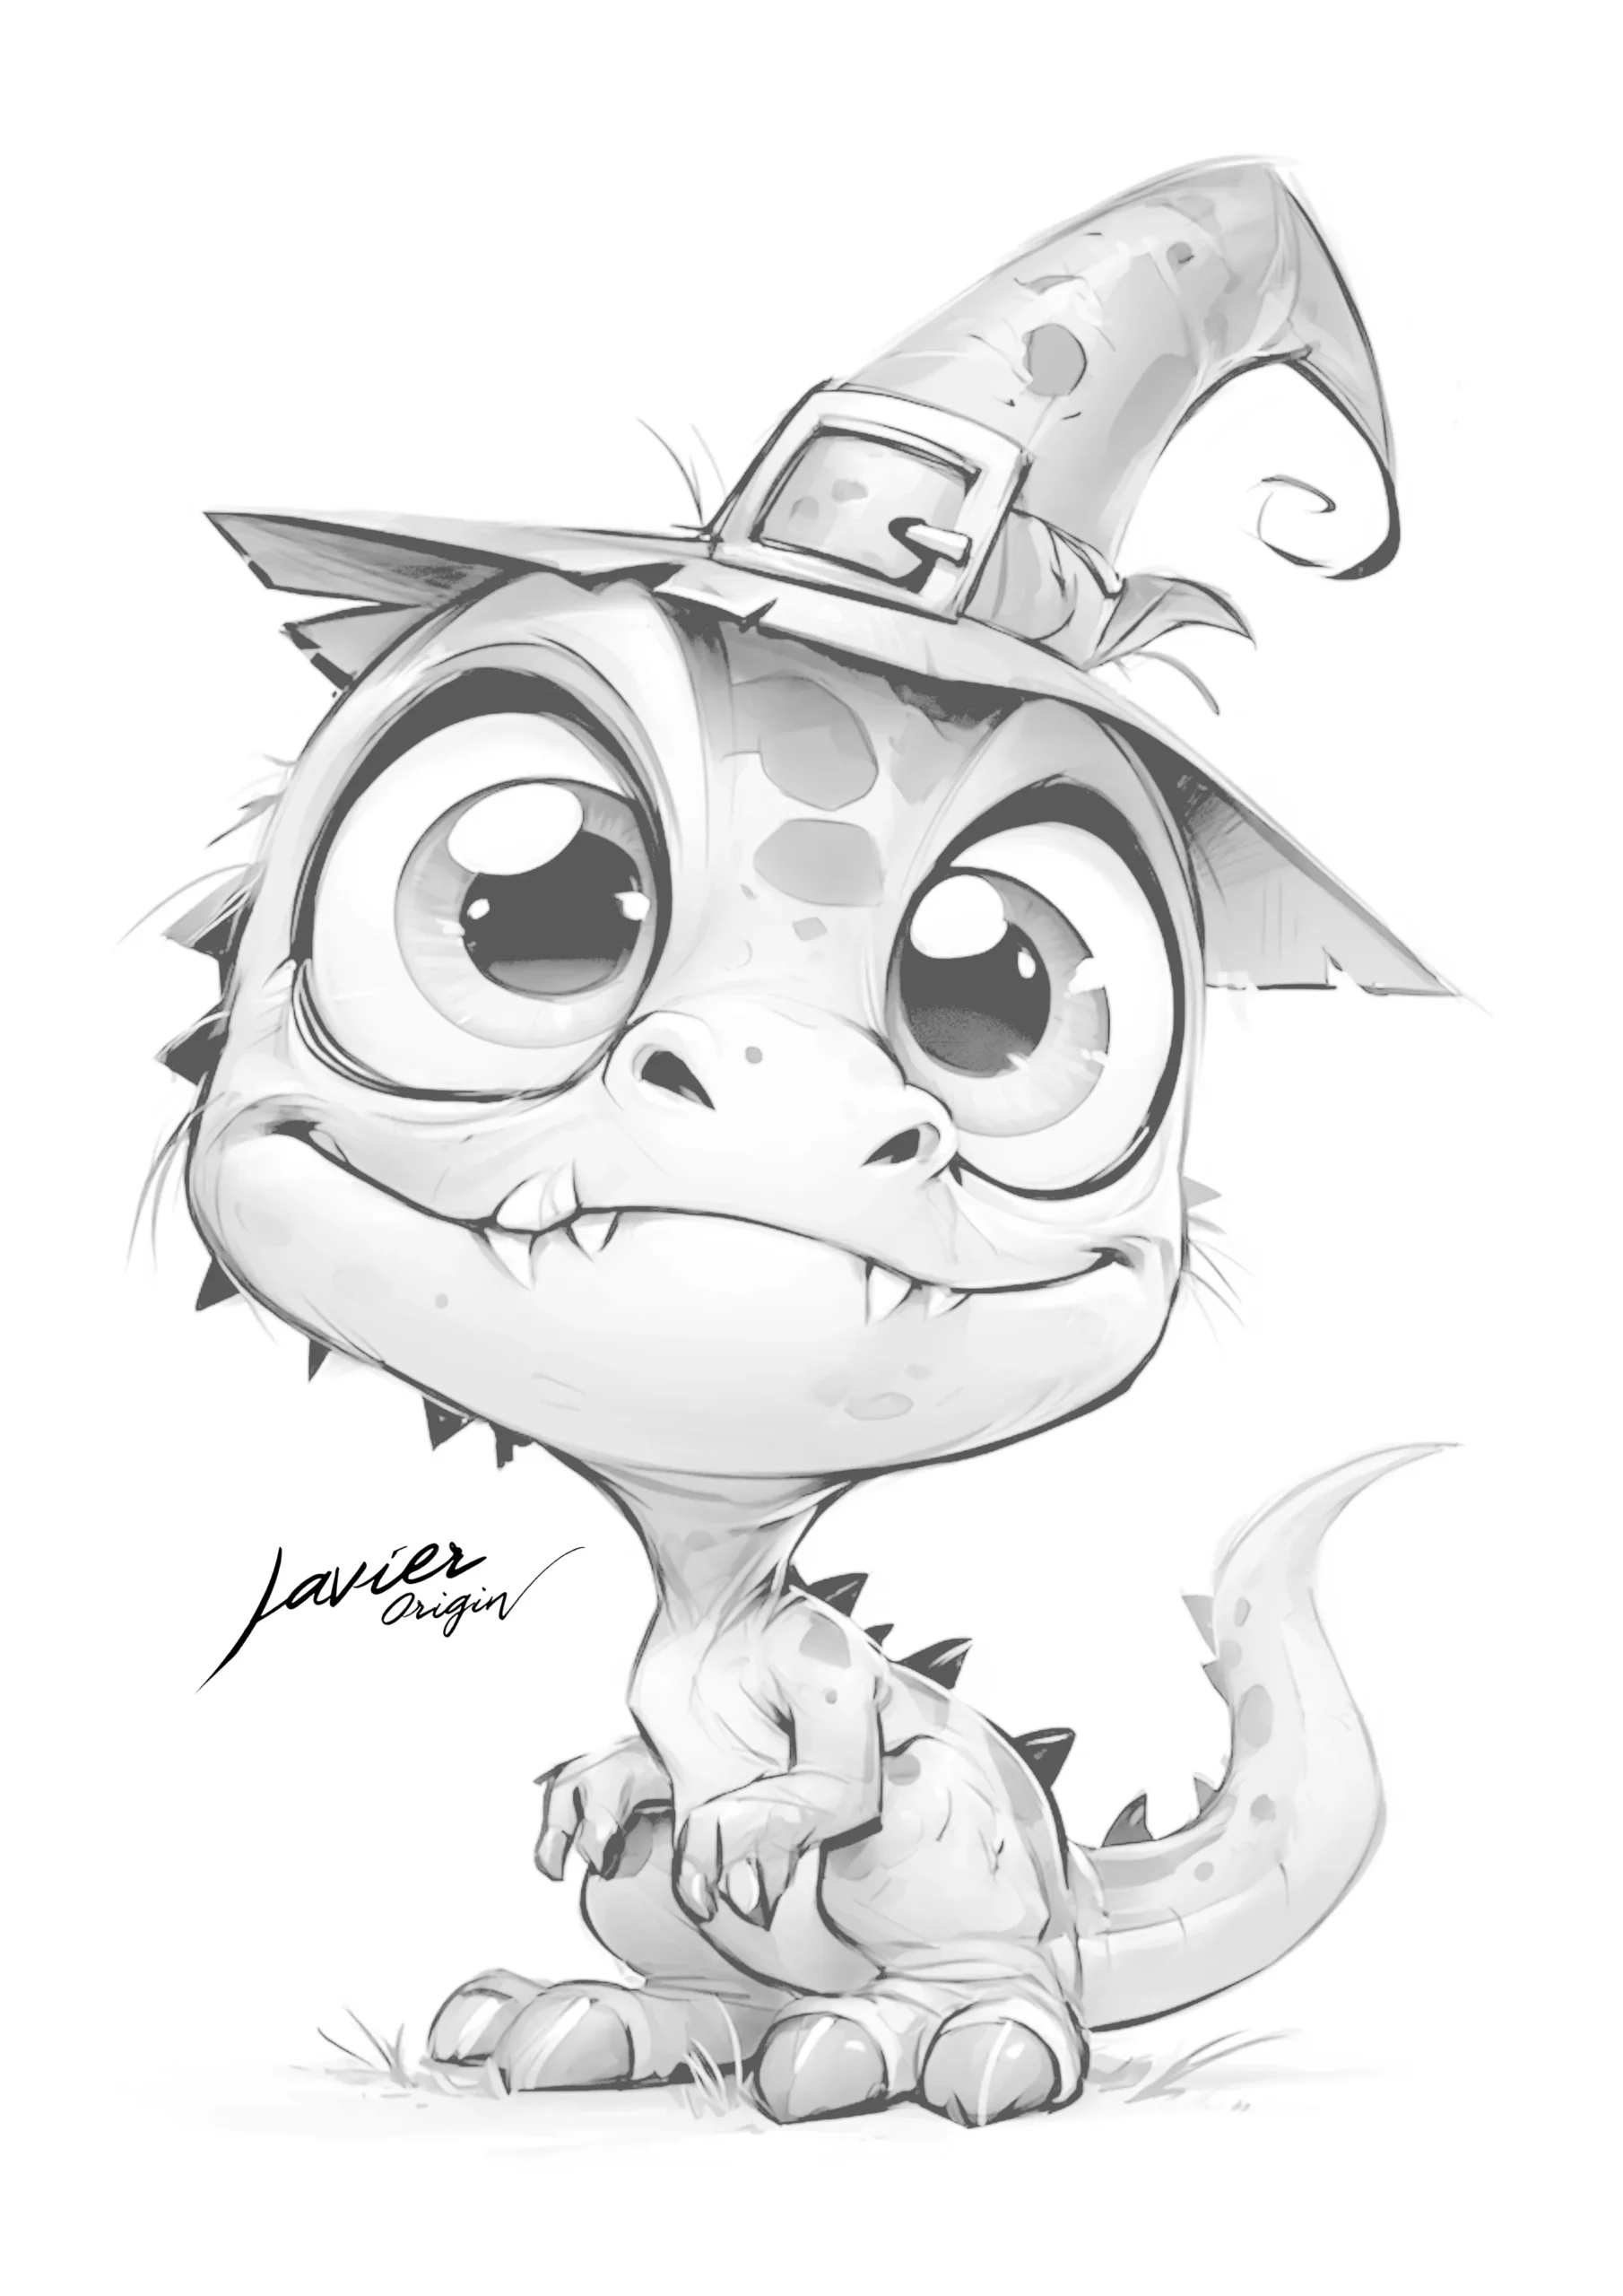
CHOOSE YOUR FORMAT
Your coloring page, ready to print
The complete drawing, centered with a margin. Choose your paper size and print at actual size, without cropping.
Take a moment to choose your pencils
Test your colors first
Test the skin’s greens beside the hat’s wine-red shade before starting. Use the same paper as the drawing: one sheet helps you practice blends, while the other records your swatches.

Pencil test sheet
Practice varying your pressure and blending two colors. Note which pencils and paper you used.
Download the test sheetAlso available as a PNG · 300 dpi
Blank color chart
Fill in the 36 swatches and write each pencil’s name and code. Suitable for any brand.
Download the color chartAlso available as a PNG · 300 dpiBoth are separate A4 sheets, independent of the drawing, with Javier Origin’s logo and QR code. To print the PDFs, choose A4 paper and “Actual size” or 100%.
Hand-colored by Javier Origin
My dinosaur colored with Holbein Artists pencils
I colored this version by hand with Holbein Artists pencils. Notice the green skin, warm markings and wine-red hat. The pencil texture stays visible: you do not need to hide it to enjoy the result.
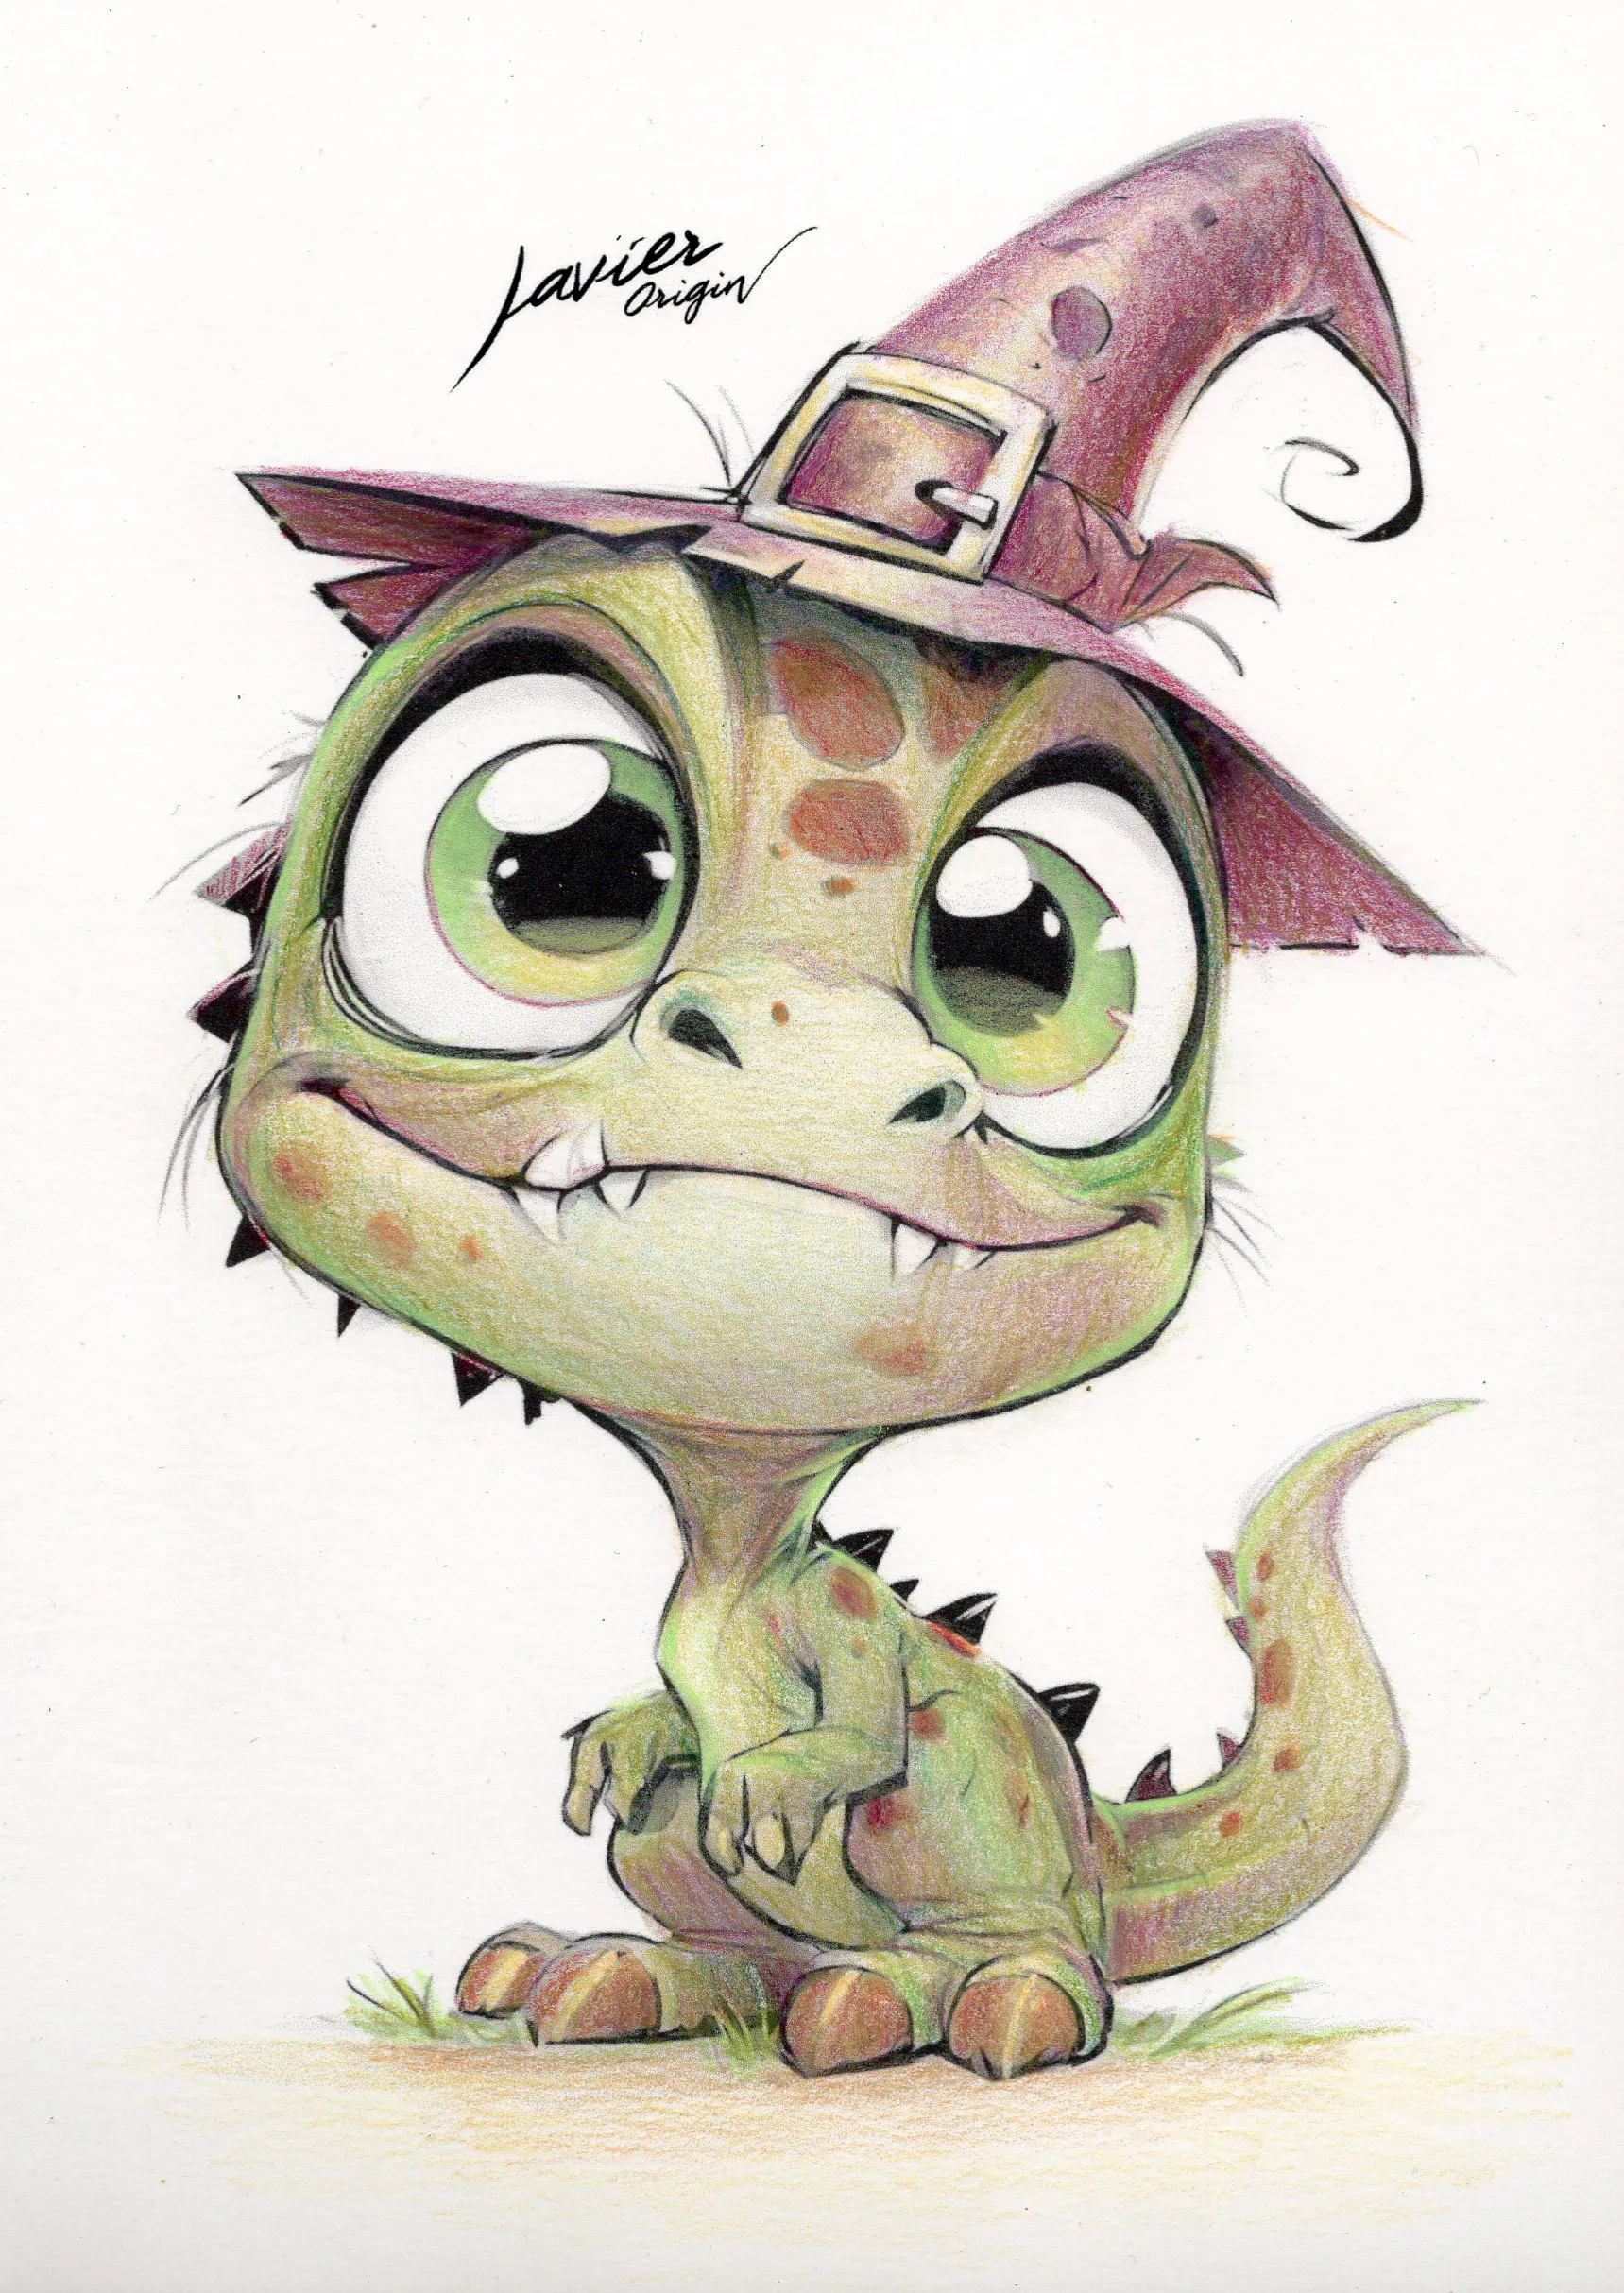
Three details to look at
- Green with subtle variations
The skin combines yellowish areas with deeper greens. Notice how the color changes beneath the hat and along the sides of the face.
- A hat that stands out
Wine red separates the hat from the skin. Lighter areas of fabric help show its curves and bent tip.
- Eyes with clear highlights
White highlights stand out against the black pupils. In the iris, the green becomes lighter toward the bottom.
Pencils used in this example
Holbein Artists
- OP222Lettuce Green
- OP131Apricot
- OP270Willow Green
- OP173Beige
- OP267Forest Green
- OP060Wine Red
- OP134Naples Yellow
- OP198Olive Yellow
- OP495Rose Grey
This is the selection I used. If you have other pencils, look for similar shades; you do not need to buy these brands to enjoy the drawing.
Another idea for your version
An Atlas palette for further experiments
If you would like to add a background, this existing Atlas palette suggests a moonlit forest. It is an extra idea for the setting; the nine pencils I used for the dinosaur are listed above.
Moonlit forest clearing
Holbein Artists
- WhiteGaps of light and pale mistOP500 · White
- Light cool grayVery gentle background shadowsOP531 · Cool Grey 1
- Soft greenA cloud of green around the characterOP275 · Surf Green
- Fir greenDistant leaves or silhouettesOP288 · Fir Green
- IndigoSmall nighttime accentsOP460 · Indigo
- BlackOnly the darkest detailsOP510 · Black
View Moonlit forest clearing in the colored-pencil Atlas
This link opens the Spanish Atlas. Look for “Brujas · Fondo” and the palette “Claro de bosque lunar” (“Moonlit forest clearing”). Keep dark shades away from the face so it stays luminous.
On-screen swatches are a guide. Test your pencils on the paper you plan to use.
From the first layer to the finishing touches
A simple way to color it
Start with light pressure so you can build up color gradually and decide which areas to keep lighter.
Reserve the eyes
Before coloring the skin, locate the white eye highlights and teeth. Leave them uncolored and add a light layer to the body.
Separate skin and hat
Work on the greens first, then the hat’s wine-red shade. Add a shadow beneath the brim so the hat looks as though it rests on the head.
Finish with the markings
Color the markings on the forehead, cheek and tail with a warm shade. Repeat a little on the feet to bring everything together.
Four details to make your version stand out
THE EYES
Give the eyes depth
Darken the upper iris just beneath the eyelid. Keep the lower area lighter and preserve the white highlights. You do not need to retrace the entire black outline.
THE SKIN
Round the face with gentle layers
Add a little more green along the sides of the head and beneath the chin. Keep the center of the muzzle light. That change in intensity creates volume without filling the face with lines.
THE HAT
Shape the bent tip
Follow the fabric’s curve with wine red. Deepen the shadow in the tip’s fold and beneath the brim. Leave a light strip on the side facing the light.
THE MARKINGS
Repeat the color without losing the green
Color the markings with light pressure so they remain part of the skin. Repeat a warm shade on the toes and in the small ground shadow without covering the whole body.
How do I smooth an uneven-looking area?
Add another light layer using small circular movements. Test it in a margin or on a separate sheet first. Pressing hard from the start makes blending harder later.
If you would like to practice first, find more ideas in thecolored pencil learning guides.
Plan your next afternoon of coloring
Download the page and print it your way
For the JPG, choose portrait orientation and fit the complete drawing within the printable area. Keep it centered and preserve its proportions; do not stretch it. Check that the hat tip, tail and toes all fit. For a ready-to-print PDF, choose A4 or US Letter below and print at actual size. My colored version is a reference.
Which pencils can I use?
Use the ones you have. Try light layers with colored pencils and sharpen the tip for small details. To compare options, read thecoloring materials guide.
JPG · Portrait layout
Download the free coloring pageFree for personal use under thedrawing license.
Your next coloring page could be waiting
Become a Javier Origin premium member
Get more Javier Origin coloring pages with a premium membership on Ko-fi. Explore the plans and choose the one that suits you so you can keep creating at your own pace.
Explore membership and benefitsWhat will you color next?
More drawings for your next coloring session
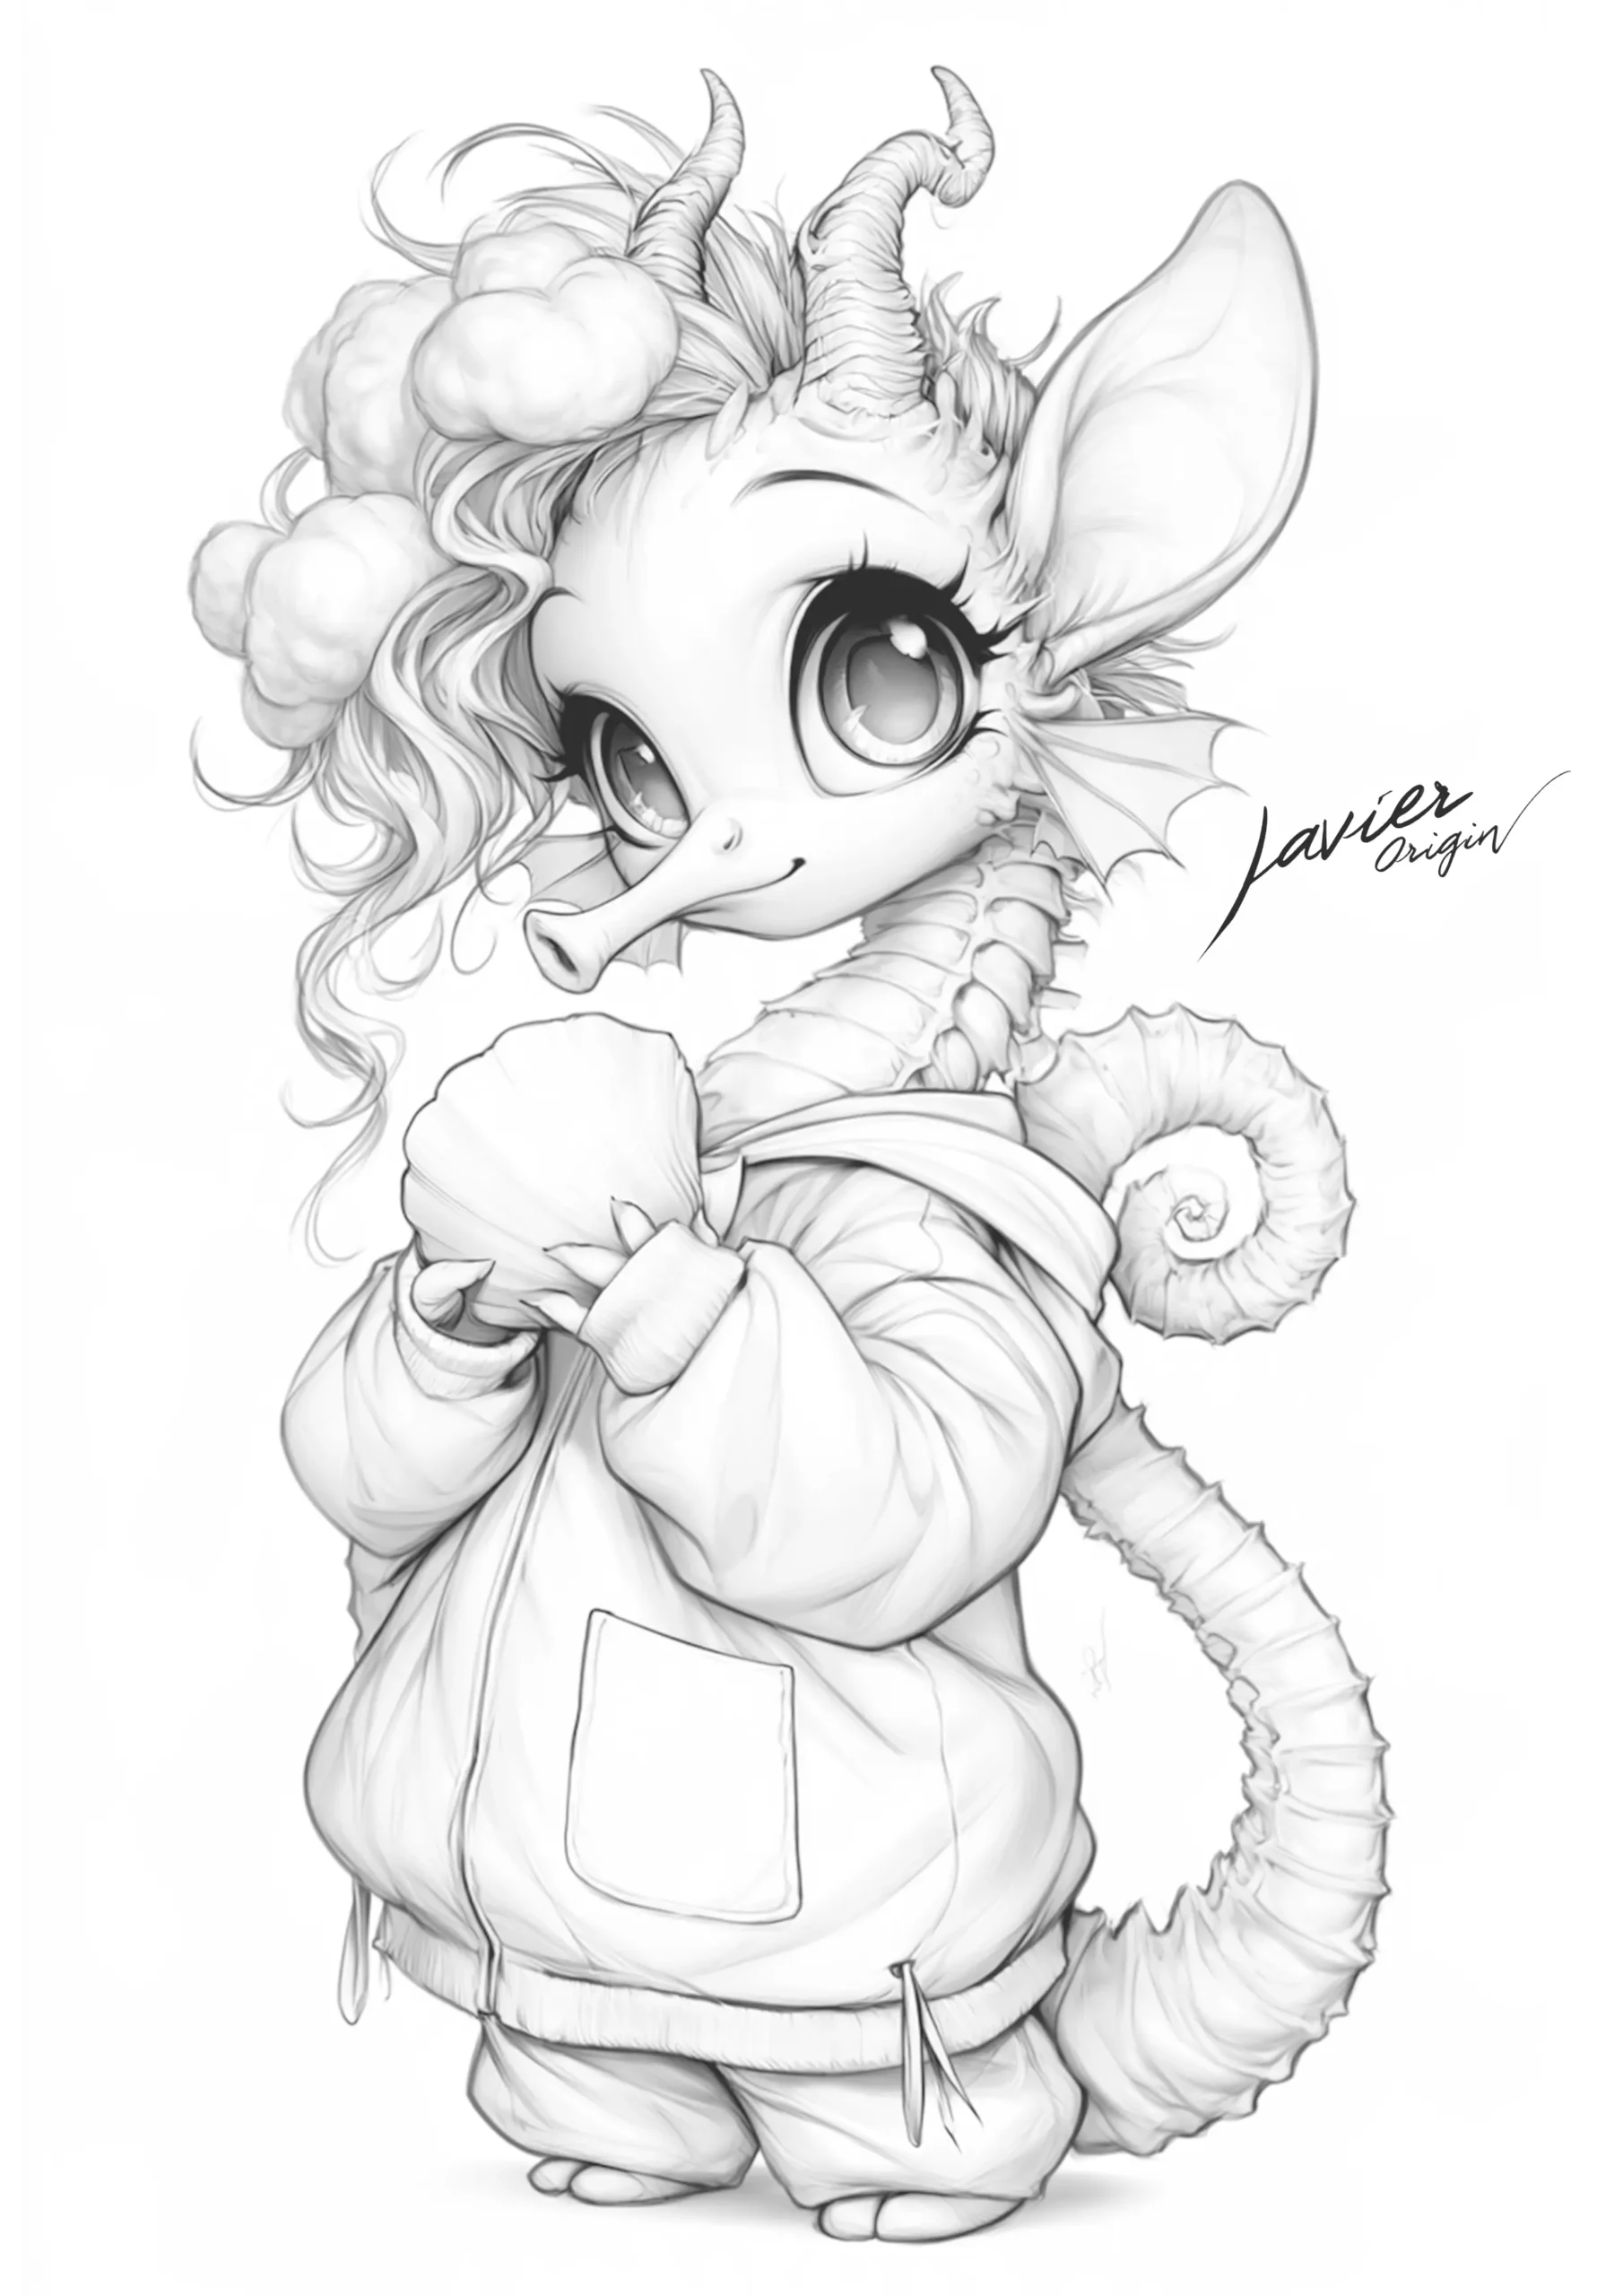
A pink creature with an example colored using Polychromos pencils.
View drawing and tips →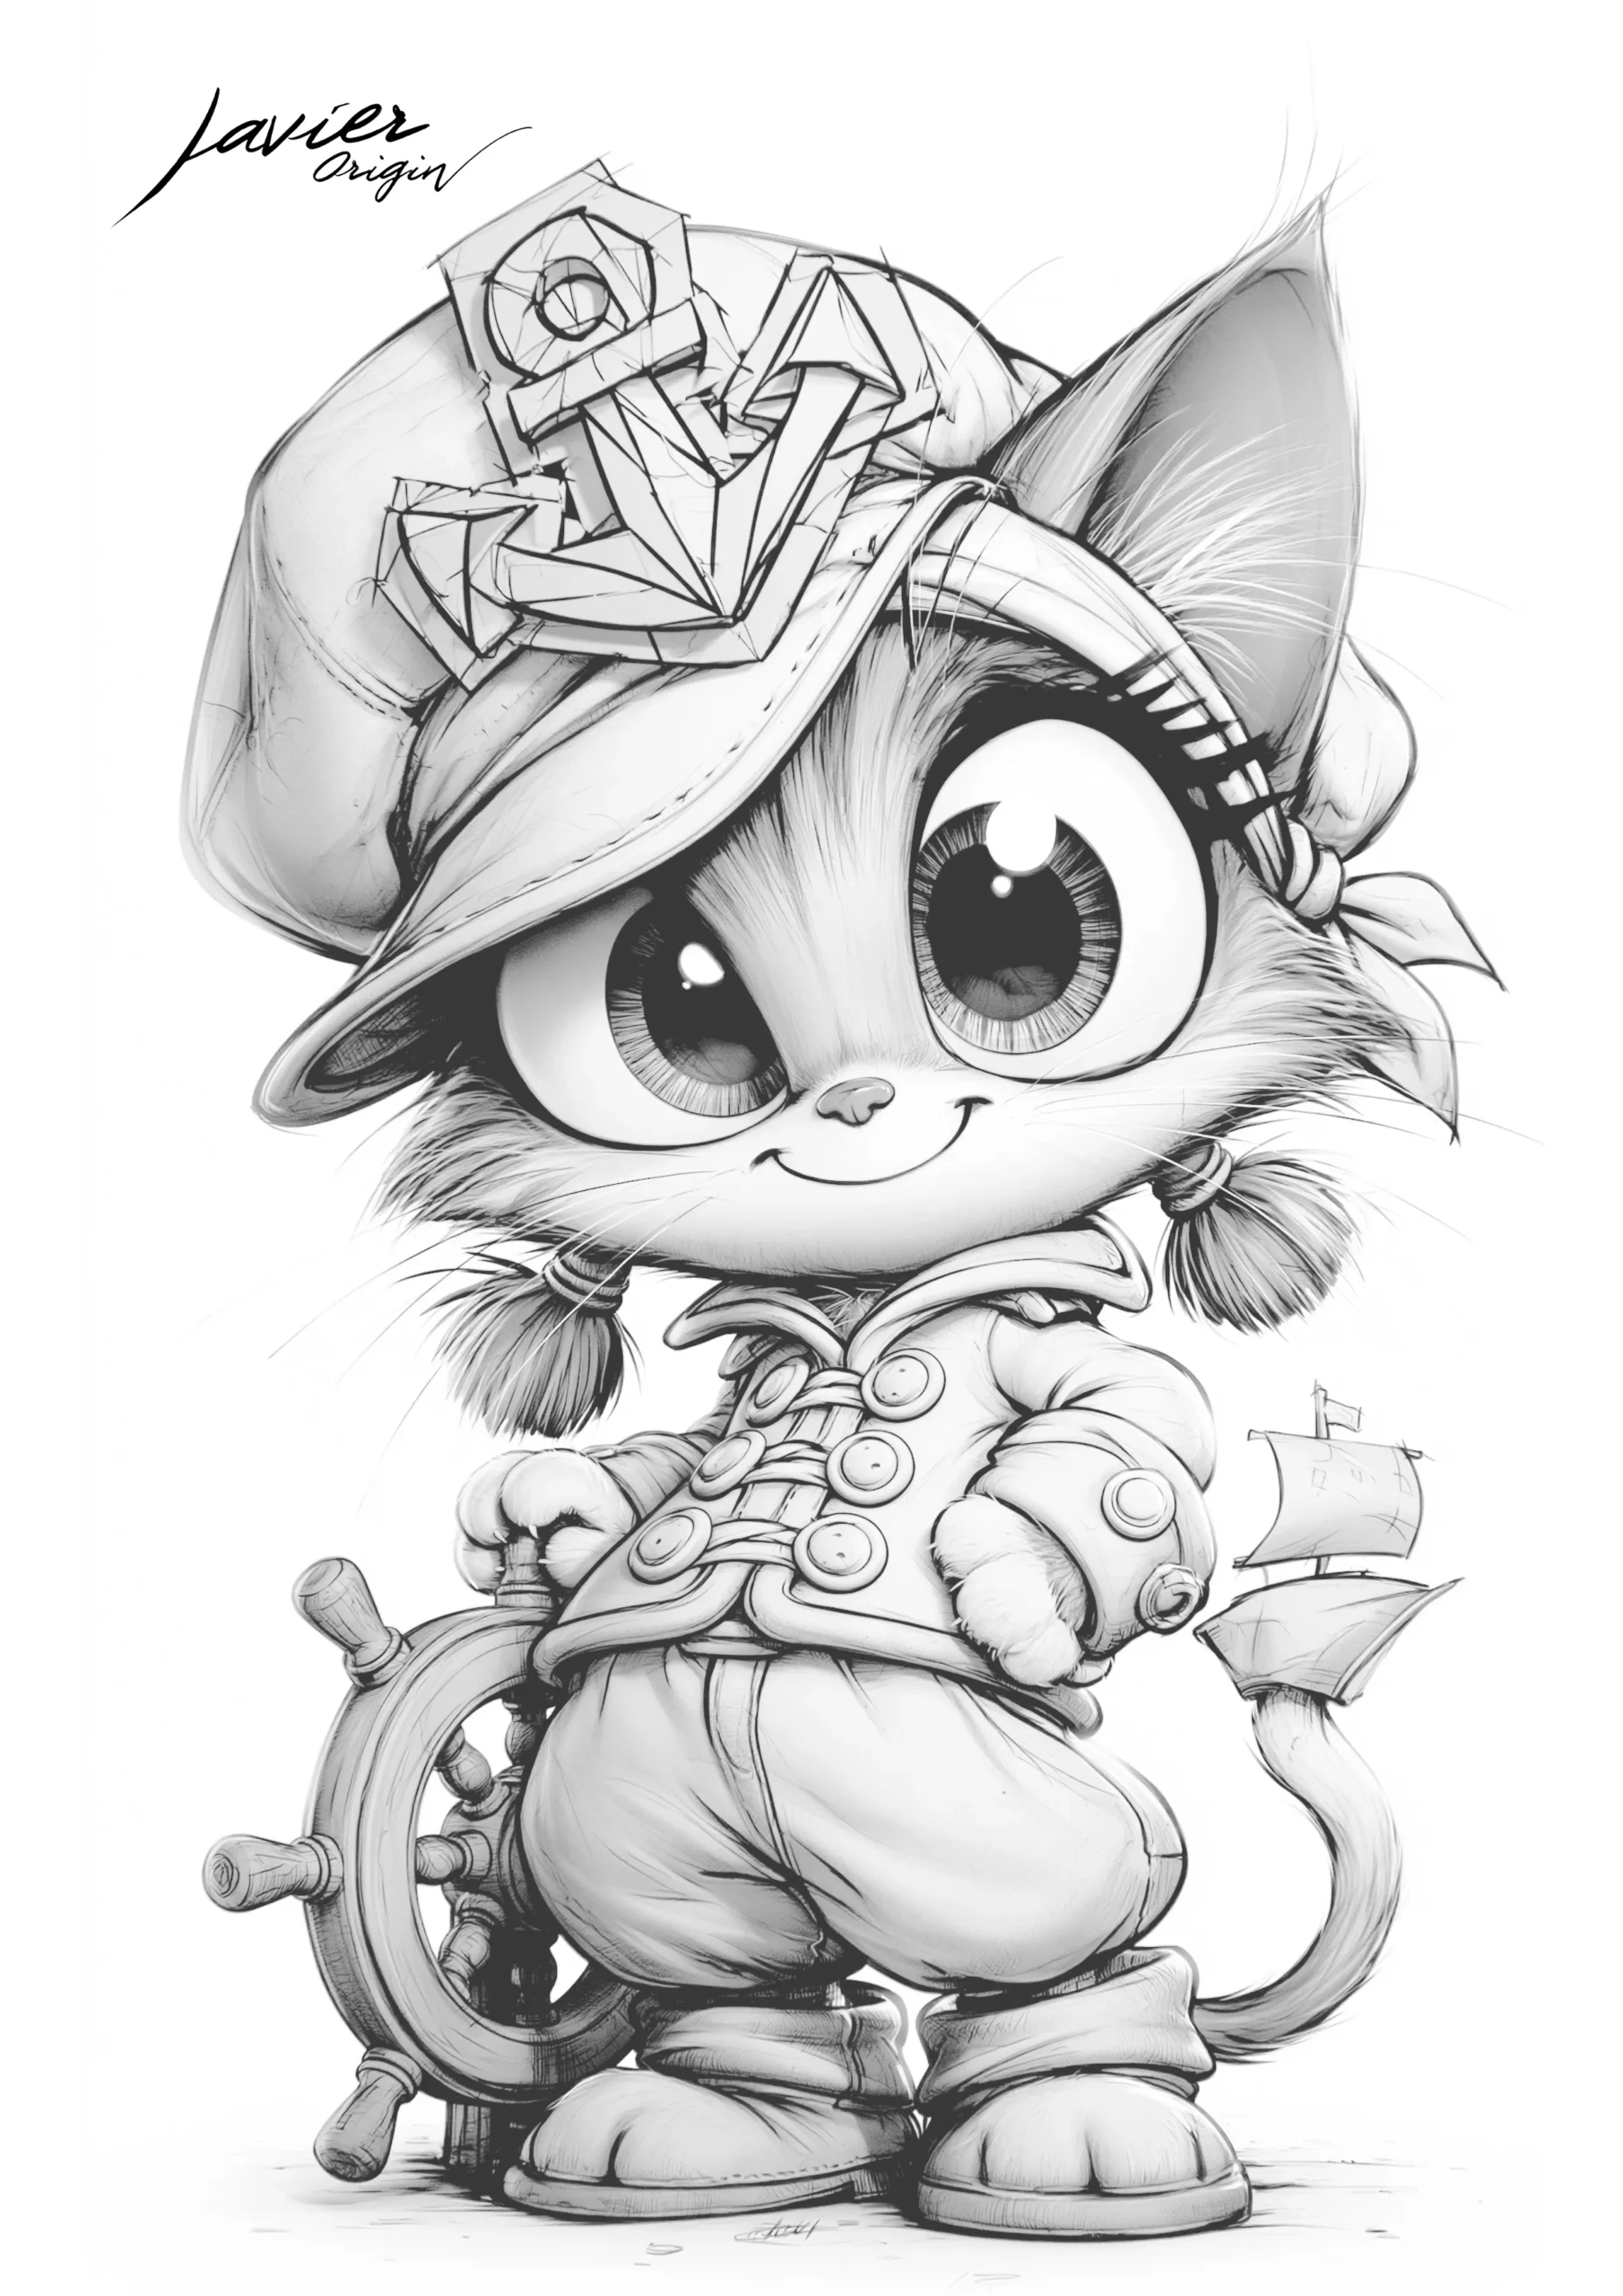
More big eyes and a different adventure.
View drawing and tips →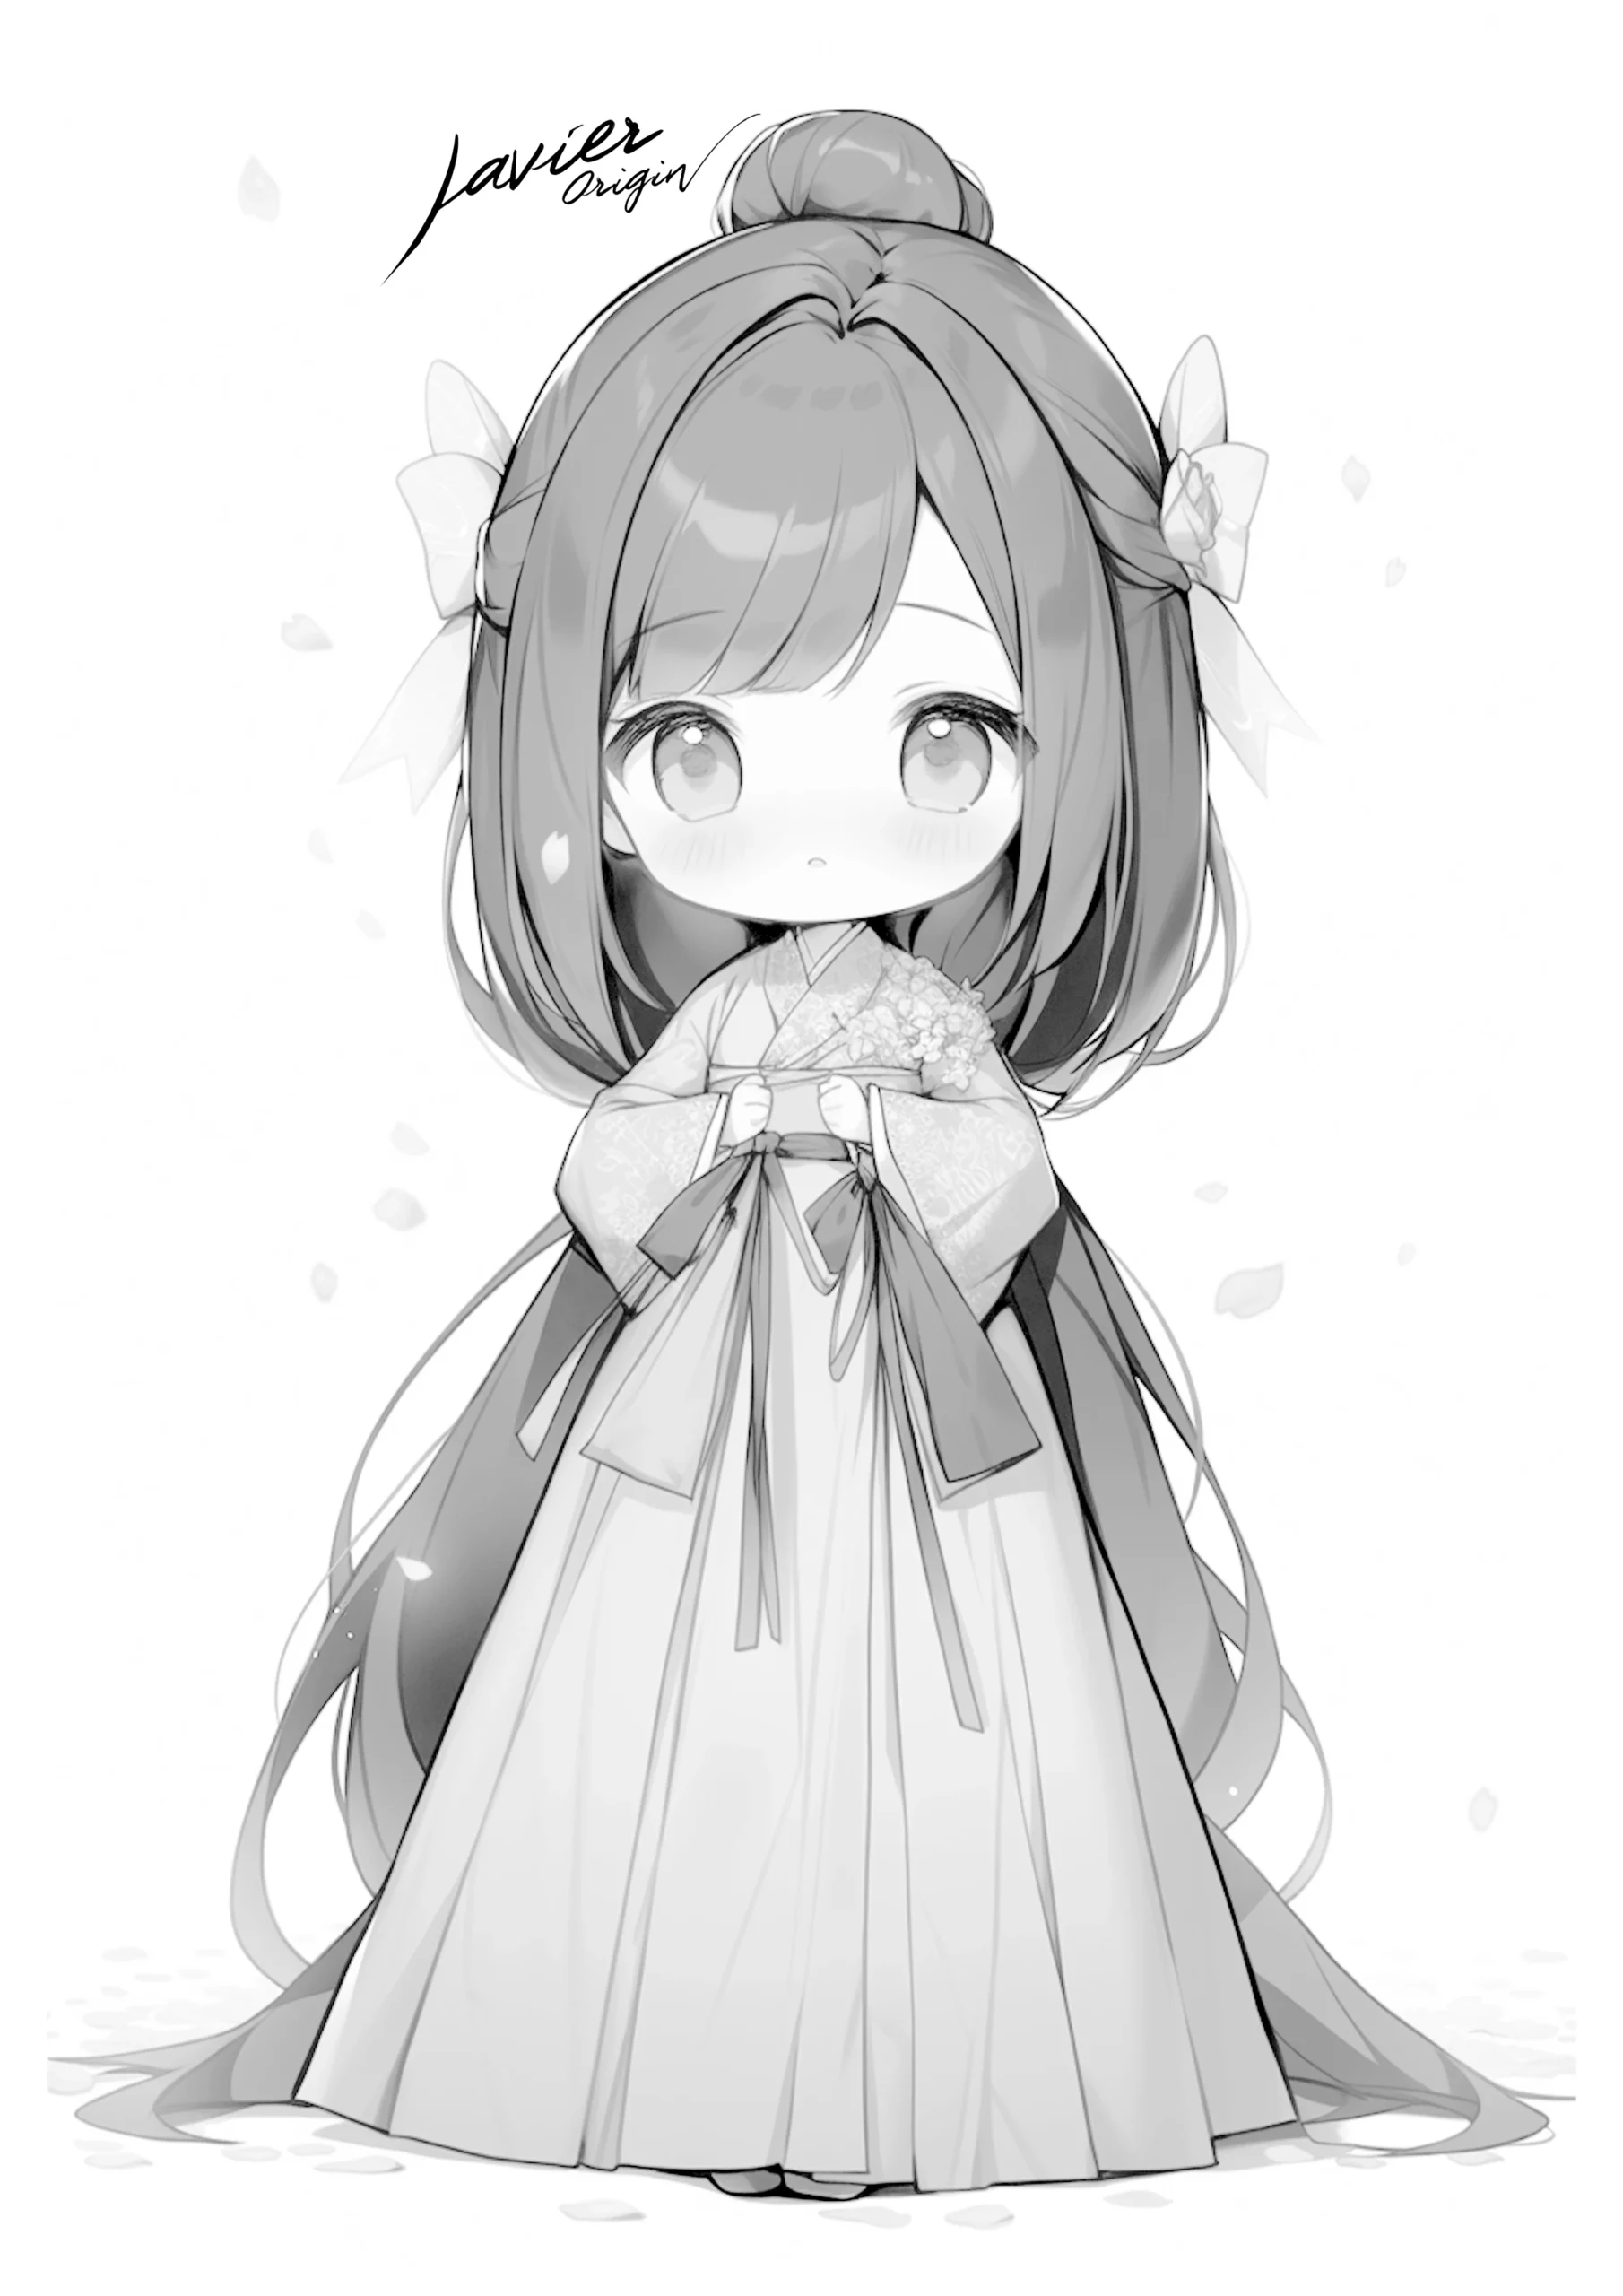
Pink and green in another hand-colored example.
View drawing and tips →