Pencils, papers and accessories I actually use
Art materials and colored pencils
A practical guide to the pencils, papers and tools I use for layering, gradients, detailed work and drawings with a clean, lasting finish.
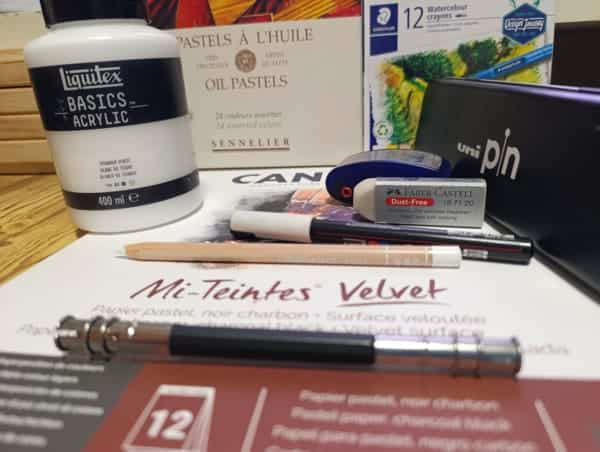
Transparency
About the links on this page
Some buttons lead to Amazon Spain through affiliate links. Product pages may open in Spanish; delivery options and availability depend on your country. If you buy through them, Javier Origin may receive a small commission at no additional cost to you.
You do not need to buy everything at once
Which materials suit your current needs?
The best materials depend on your technique, budget and the kind of drawing you want to make.
Good pencils and suitable paper
Prioritize a small quality set and paper that can handle several layers.
A firm core and smooth paper
Polychromos and Bristol work well for defined edges and controlled layers.
A creamy core and a blender
Prismacolor or a colorless blender can help you achieve very smooth transitions.
Lightfastness
Derwent Lightfast and acid-free paper are a more serious option for preserving finished pieces.
The heart of the drawing table
Professional colored pencils
I look for strong pigment, good layering, pressure control and cores that respond well to details and blends.
Faber-Castell Polychromos
Dense pigment, a firm core and controlled blending. My favorites for building layers without losing precision.
- Very good for hair, skin, eyes and small lines.
- Let you work patiently from light to dark.
- Ideal for controlled palettes.
Derwent Lightfast
Lightfast pencils with a soft texture, saturated colors and good performance for lasting artwork.
- Recommended for work you want to preserve.
- A pleasant creamy feel with professional quality.
- Work well in layers and rich backgrounds.
Prismacolor Premier
They are fragile, but their softness is lovely for portraits, quick blends and highly saturated areas.
- Excellent feel for skin and soft transitions.
- Need care when sharpening.
- Very good for burnishing and smooth finishes.
The surface changes everything
Papers for colored pencils
Paper affects pigment grip, the number of layers, blending, detail and durability.
Legion Stonehenge
A well-regarded colored pencil paper with a good layering surface and a professional artistic feel.
- An option for finished pieces.
- Responds well to layers and blends.
- Available in several shades.
SM-LT Sketch Pad
Natural brown 135 gsm paper, useful for highlights, earth tones, white pencil and quick studies.
- A good surface for sketches.
- A warm base for building highlights.
- Useful for studying volume.
Canson XL Bristol
Smooth Bristol paper for fine detail, precise lines, clean illustration and controlled layers.
- Very useful for precise illustration.
- A good option for practicing details.
- Avoid saturating it too early.
Small tools, big differences
Useful accessories for better coloring
They help blend, clean, lift pigment and adjust details while being gentler on the paper.
Caran d’Ache blender
A blending pencil for moving pigment, reducing visible grain and creating a more unified finish.
- Use it after building several layers.
- Can intensify color.
- Very useful for gradients.
Faber-Castell kneaded eraser
A kneaded eraser for lifting pigment, correcting small excesses and working gently.
- Gentler on the paper.
- Helps clean small areas.
- Works best before the paper is saturated.
Electric eraser
A rechargeable precision eraser for lifting tiny highlights, correcting edges and cleaning specific areas.
- Use carefully with light pressure.
- Ideal for small highlights.
- Test on the same paper first.
How I use them in a real session
My workflow with coloring materials
Before coloring a complete piece, I prepare the paper, palette and tests to reduce mistakes.
Choose paper
Smooth for detail, vellum for layers or toned paper for more expressive highlights.
Prepare the palette
Select a few pencils and arrange them from light to dark.
Make tests
Check pressure, blends and the paper’s response.
Work in layers
Start gently and save stronger pressure for the end.
Adjust the details
Use a blender, kneaded eraser or electric eraser only where it makes a useful difference.
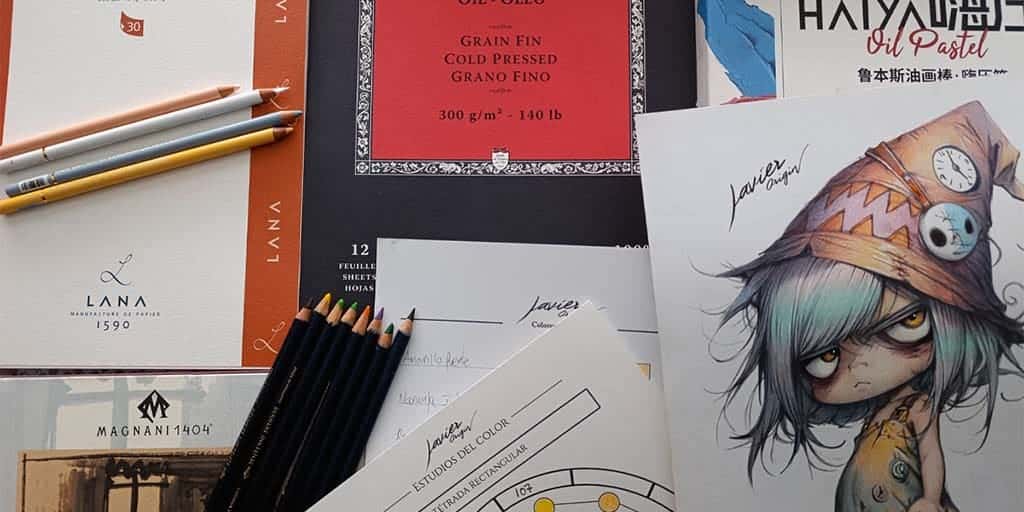
Final tip
Invest first where it makes the most difference
If you are starting out, prioritize a good foundation: reliable pencils, suitable paper and regular practice.
These two elements have the greatest effect on layering, blending and the result.
Add blenders, erasers and tools when you understand which problem they solve.
Use the materials on skin, hair, fur, clothes, wings, eyes and backgrounds.
Frequently asked questions
Buying, using and choosing materials
Which pencils would I buy first?
For control and detail, I would start with Polychromos. For exceptionally soft gradients, Prismacolor can be very enjoyable.
Do I need professional pencils to learn?
No. You can learn pressure control, layering and observation with a simple set, but better-quality materials make blending easier and reduce frustration.
Which paper should I use to print drawings?
Check your printer’s maximum paper weight. As a guide, 160–200 gsm paper is often useful for coloring with several layers if your printer supports it.
Is a blender essential?
No. It is useful, but most blending comes from layers, controlled pressure and intermediate shades.
What is a kneaded eraser for?
Gently lifting pigment, removing excess color and recovering some light without aggressively scraping the paper.
Do affiliate links change the price?
No. Affiliate links do not increase your price, but they may generate a small commission that supports the project.
Technique + materials + practice
Set up your table and start a real practice session
Choose paper, select a small palette and apply the materials to a particular drawing or reference.